
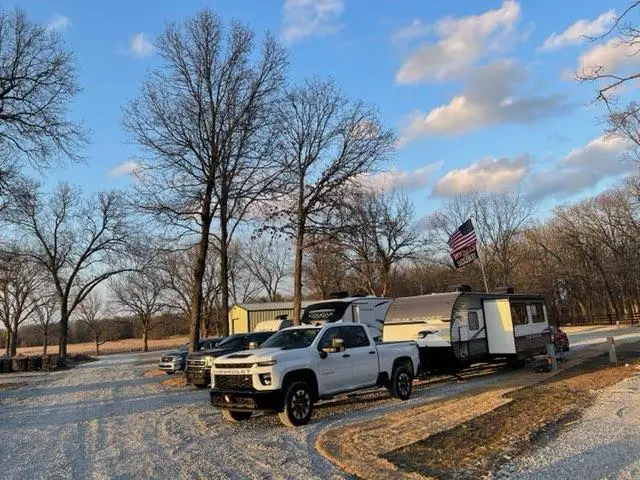
How to Prepare Your Trailer for a Stay at a Campground
A stay at a campground should feel easy and relaxed from the moment you pull in. But getting there takes a little preparation — and it’s the kind of thing that’s easy to rush through and regret later. I’ve watched plenty of guests arrive here at Grand Lake missing something important: the right adapter, a working water pressure regulator, a hose actually rated for drinking water. None of it is a disaster, but it adds friction to the first day of what should be a great trip.
Here’s how to prep your trailer properly so your campground stay starts the way it’s supposed to.
Before Your Campground Stay: Start With the Mechanical Basics
Tires — Check pressure on all tires including the spare, and look for cracking, uneven wear, or sidewall damage. RV tires can look fine on the outside and still be compromised. If the trailer has been sitting for months, give the tires extra attention. A blowout on the highway with a loaded trailer is a serious situation.
Brakes — If your trailer has electric brakes, make sure the brake controller in your tow vehicle is calibrated and functioning. Test it before you’re on the highway with a full load behind you.
Lights — Walk around and confirm brake lights, turn signals, running lights, and marker lights are all working. A quick test takes two minutes and can prevent a ticket or worse.
Hitch and connections — Confirm the ball size matches the coupler, the coupler is fully locked, safety chains are crossed and connected, and the breakaway cable is hooked correctly.
Water System Prep for a Campground Stay
Sanitize if it’s been sitting — If the trailer has been in storage, sanitize the fresh water system before your stay at a campground. A diluted bleach solution run through the system, left to sit, then thoroughly flushed is the standard approach. The EPA’s guidance on drinking water hygiene is a solid reference if you want to do it by the book.
Use the right hose — A standard garden hose will make your water taste like rubber. Use a hose specifically rated for RV drinking water — they’re clearly labeled. Keep one dedicated to drinking water and one for rinsing so they don’t get mixed up.
Bring a water pressure regulator — Campground water pressure can vary widely, and high pressure can damage your RV’s plumbing and fittings over time. A simple inline pressure regulator costs $10–$15 and protects your entire system. Don’t skip this one.
Check for leaks — Turn on your water pump with the tank filled and listen. If the pump cycles on and off when you’re not running water, there’s a leak somewhere. Find it before you leave home.
Electrical Hookups for Your Campground Stay
Most campgrounds offer 30-amp or 50-amp service. Here at The Park on Whiskey Road, we have 50/30/20-amp pedestals at every site, so you’re covered regardless of what your rig needs. But not every campground is set up the same way.
Know your rig’s amperage — Understand whether your trailer runs on 30-amp or 50-amp service. Showing up with a 50-amp rig to a 30-amp campground isn’t a disaster, but you’ll need an adapter and you’ll need to manage your power draw.
Carry the right adapters — A 50-to-30 amp dogbone adapter and a 30-to-15 amp adapter are worth keeping in your kit. They don’t take up much space and they’ve saved a lot of trips.
Test appliances before you go — Run the air conditioner, microwave, and water heater at home before the trip. Better to find a problem in your driveway than at the campground.
Interior: Secure, Clean, and Stock Before You Go
Secure loose items — Everything in your trailer shifts while you’re towing. Use childproof latches on cabinet doors, tuck breakables somewhere padded, and make sure nothing heavy is sitting unsecured on a shelf.
Clean before you leave — Starting a campground stay in a clean rig makes everything feel better. It also lets you identify anything that needs attention — a smell that wasn’t there before, moisture where there shouldn’t be.
Stock smart — Bring more of the basics than you think you need: RV-rated toilet paper, paper towels, dish soap, a basic tool kit, and any medications you’d be frustrated to be without. Rural campgrounds aren’t always near a store.
Outdoor Setup for a Great Campground Stay
Awning — Make sure it extends and retracts smoothly before you leave home. At the campground, always secure it with side tension straps, and bring it in if weather is coming. A sudden wind gust can destroy an awning in seconds.
Leveling blocks and chocks — These should be in your kit every single trip. Bring more blocks than you think you’ll need; campground sites are rarely perfectly level.
Outdoor mat and furniture — A good outdoor mat cuts down on how much dirt gets tracked inside. Chairs, a table, and something for shade turn a campsite into an actual outdoor living space — which is really the whole point of a campground stay.
Waste Management During Your Campground Stay
Know how to dump — Black tank first, grey tank second. The grey water rinses out the hose. Always wear gloves. If you’re new to RVing, practice the process before you need to do it at a busy campground.
Use RV-safe products — RV toilet paper and enzyme-based tank treatments are designed for holding tank systems. Regular household products can cause buildup and odor problems that are much harder to fix than they are to prevent.
Trash — Never leave food trash outside or in unsecured containers. Use sealed bags, keep trash inside until you’re ready to use the campground’s stations, and respect the space for the next camper.
Safety Essentials for Any Campground Stay
Fire extinguisher — Check the gauge and expiration date before every season. Know where it is and how to use it.
First aid kit — Stock the basics: bandages, antiseptic, pain relievers, allergy medication, and tweezers. Add any prescription medications you rely on.
Smoke and CO detectors — Test them before every trip. Carbon monoxide is invisible and odorless, and RV detectors have a shorter lifespan than household ones. The National Fire Protection Association has solid RV-specific fire safety guidance worth bookmarking.
Final Walkthrough Before You Leave for the Campground
Run this quick check before you pull out of the driveway:
- Antenna lowered
- Slide-outs retracted
- Steps retracted
- All exterior compartments latched and locked
- Refrigerator switched to propane or 12V for travel
- Nothing left on the roof or running boards
- Hitch, chains, and lights confirmed
That two-minute walkthrough prevents the kind of expensive mistakes that make for a rough start to an otherwise great campground stay.
If Grand Lake is where you’re headed, we’d love to have you. Check out our amenities page to see everything we offer, and take a look at our monthly rates if a longer stay sounds right. Come prepared, and the rest takes care of itself.
Author: Darin Berryhill